Role Configuration
The User and Permissions > Role Configuration tab shows you all the features available, and lets you update which roles those features are assigned to. These roles in turn determine what your users have access, and what they can do, within Asset Management.
The following roles can be assigned to users:
-
Administrator* - has access to all features and privileges.
-
Primary User** - has read/write access to all features and privileges, excluding Configuration.
-
Read Only User** - has read access to all features and privileges, excluding Configuration.
-
Limited User** - has no access by default. An administrator must configure this role, until they do so, users with this role will not be able to see anything when logging into Asset Management.
*The Administrator role permissions cannot be updated, and therefore is not shown in Role Configuration.
**These are the default permissions for the roles, and can be updated as required within the Role Configuration tab.
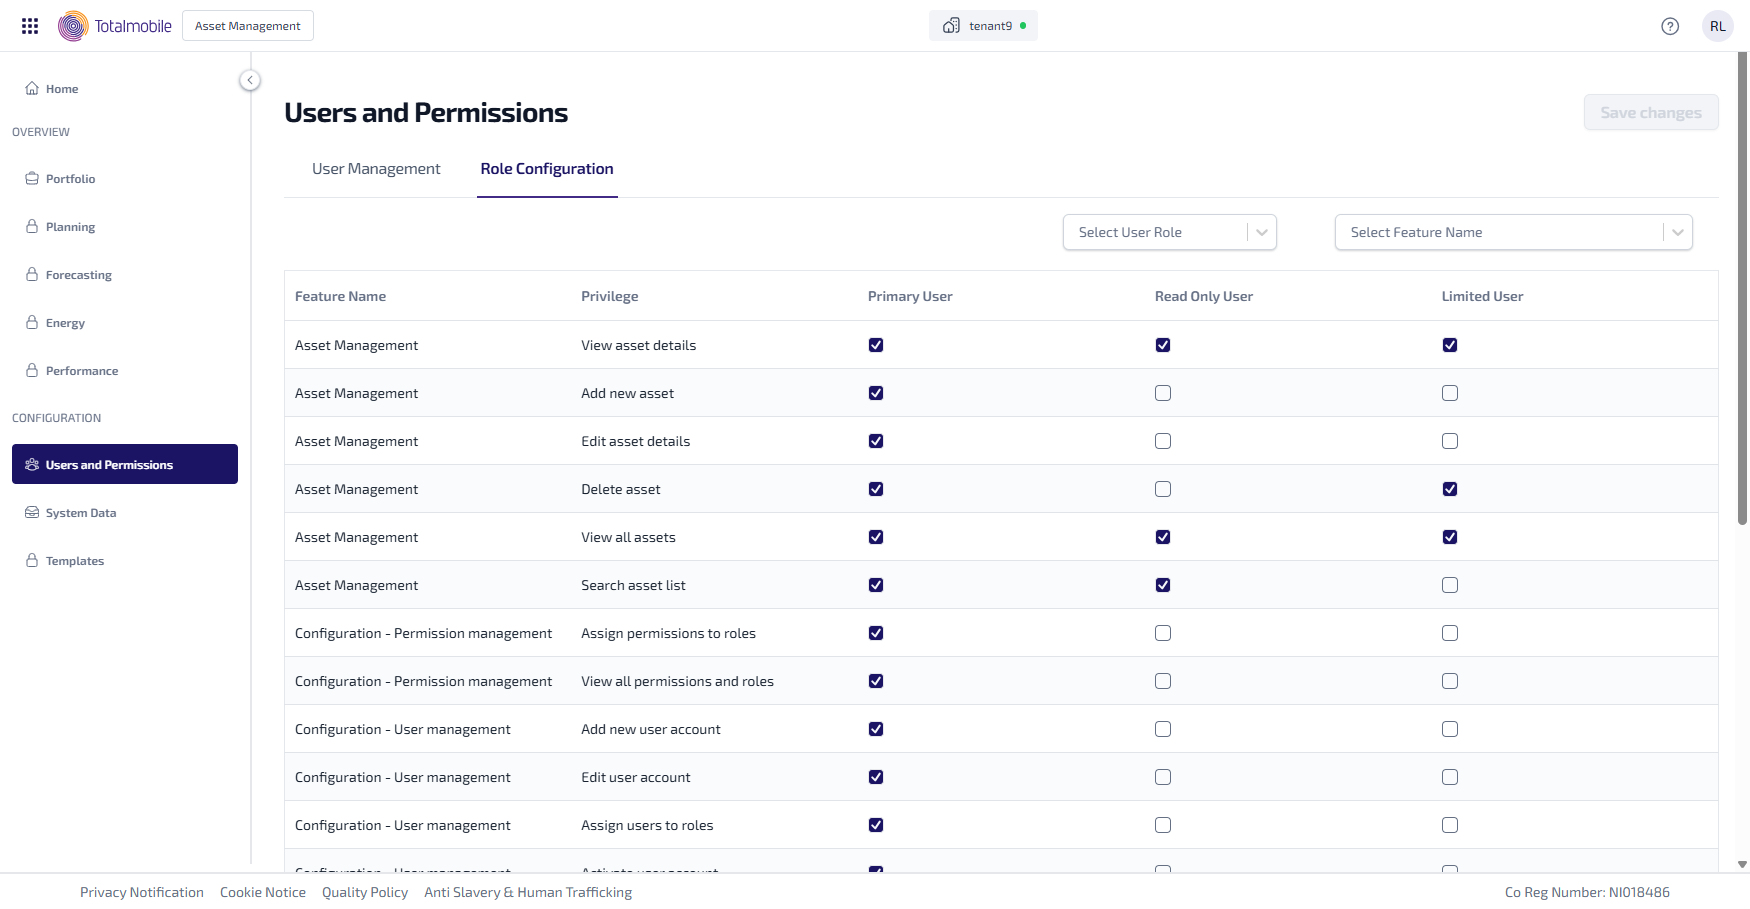
The following information is shown:
-
Feature Name - the name of the feature, or area, within Asset Management.
-
Privilege - the access, or permissions, available for the feature.
-
Primary User, Read Only User, and Limited User - these are the roles available for users. The column below each role contains checkboxes showing whether the associated Privilege is assigned to the role or not:
 - the Privilege is assigned.
 - the Privilege is not assigned.
You can do the following within Role Configuration:
The roles shown in Role Configuration are the only roles available, new roles cannot be created.
Edit Role
To edit a role:
-
In the Navigation menu, in the Configuration section, select Users and Permissions.
-
Select the Role Configuration tab.
-
To add a Privilege:
-
Select the empty checkbox associated with the Privilege and role.
-
It updates to contain a check mark
, indicating the Privilege is assigned to the role.
-
-
To remove a Privilege:
-
Select the checkbox associated with the Privilege and role.
-
It updates to clear the checkbox
, indicating the Privilege is not assigned to the role.
-
-
Complete steps 3 and 4 for each Privilege to be added or removed from the relevant role.
-
Select Save changes.
Select User Role
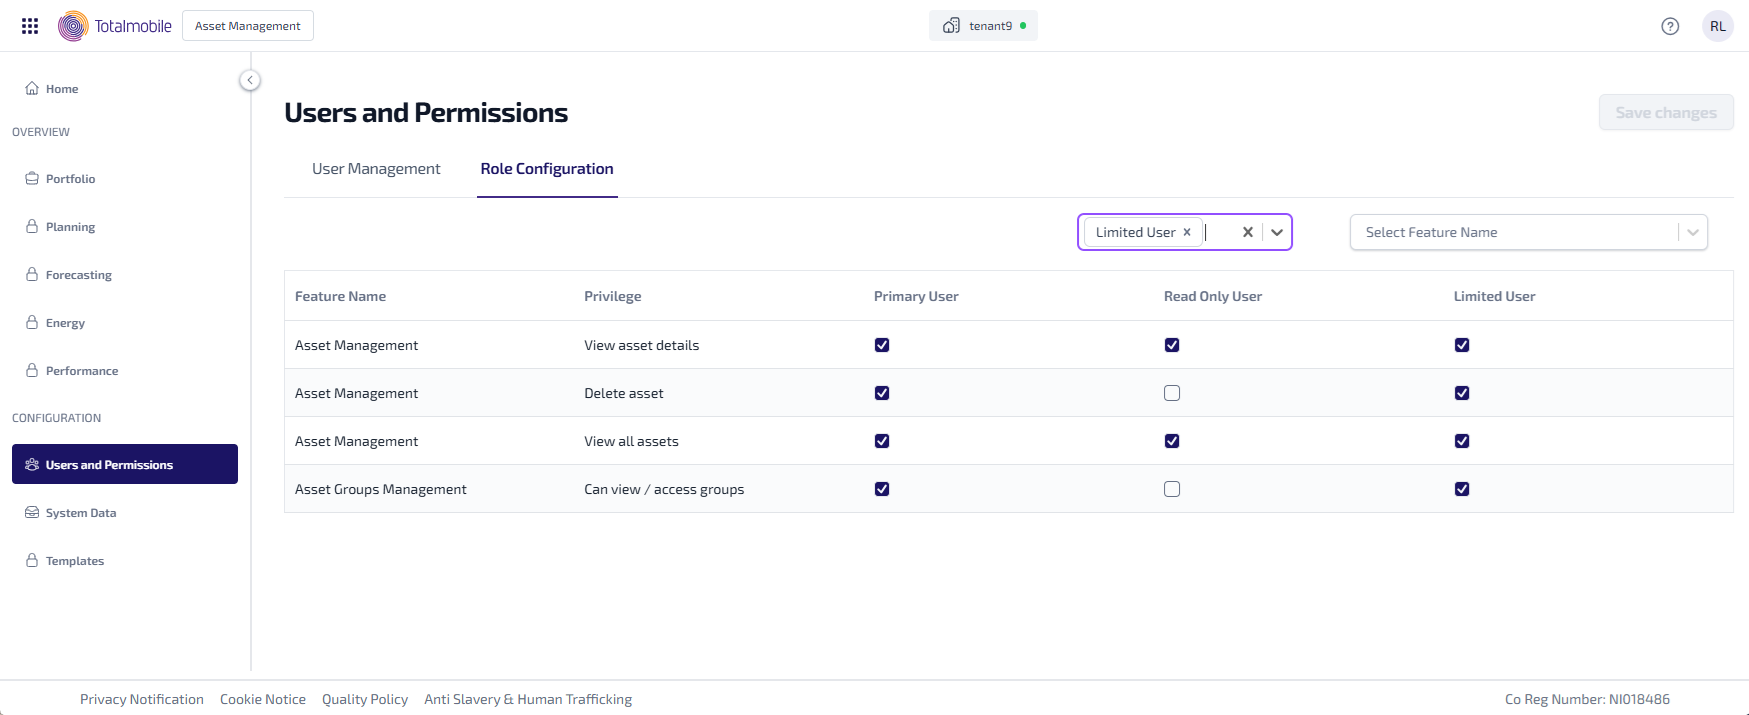
The Role Configuration tab can be filtered to show only the Privileges assigned to a selected user role.
To filter by user role:
-
In the Navigation menu, in the Configuration section, select Users and Permissions.
-
Select the Role Configuration tab.
-
Select the Select User Role dropdown, then select the role from the following options:
-
Primary User
-
Read Only User
-
Limited User
-
-
The table in the Role Configuration tab updates to show only those Privileges assigned to the selected role.
-
If required, follow step 3 again to add additional user roles.
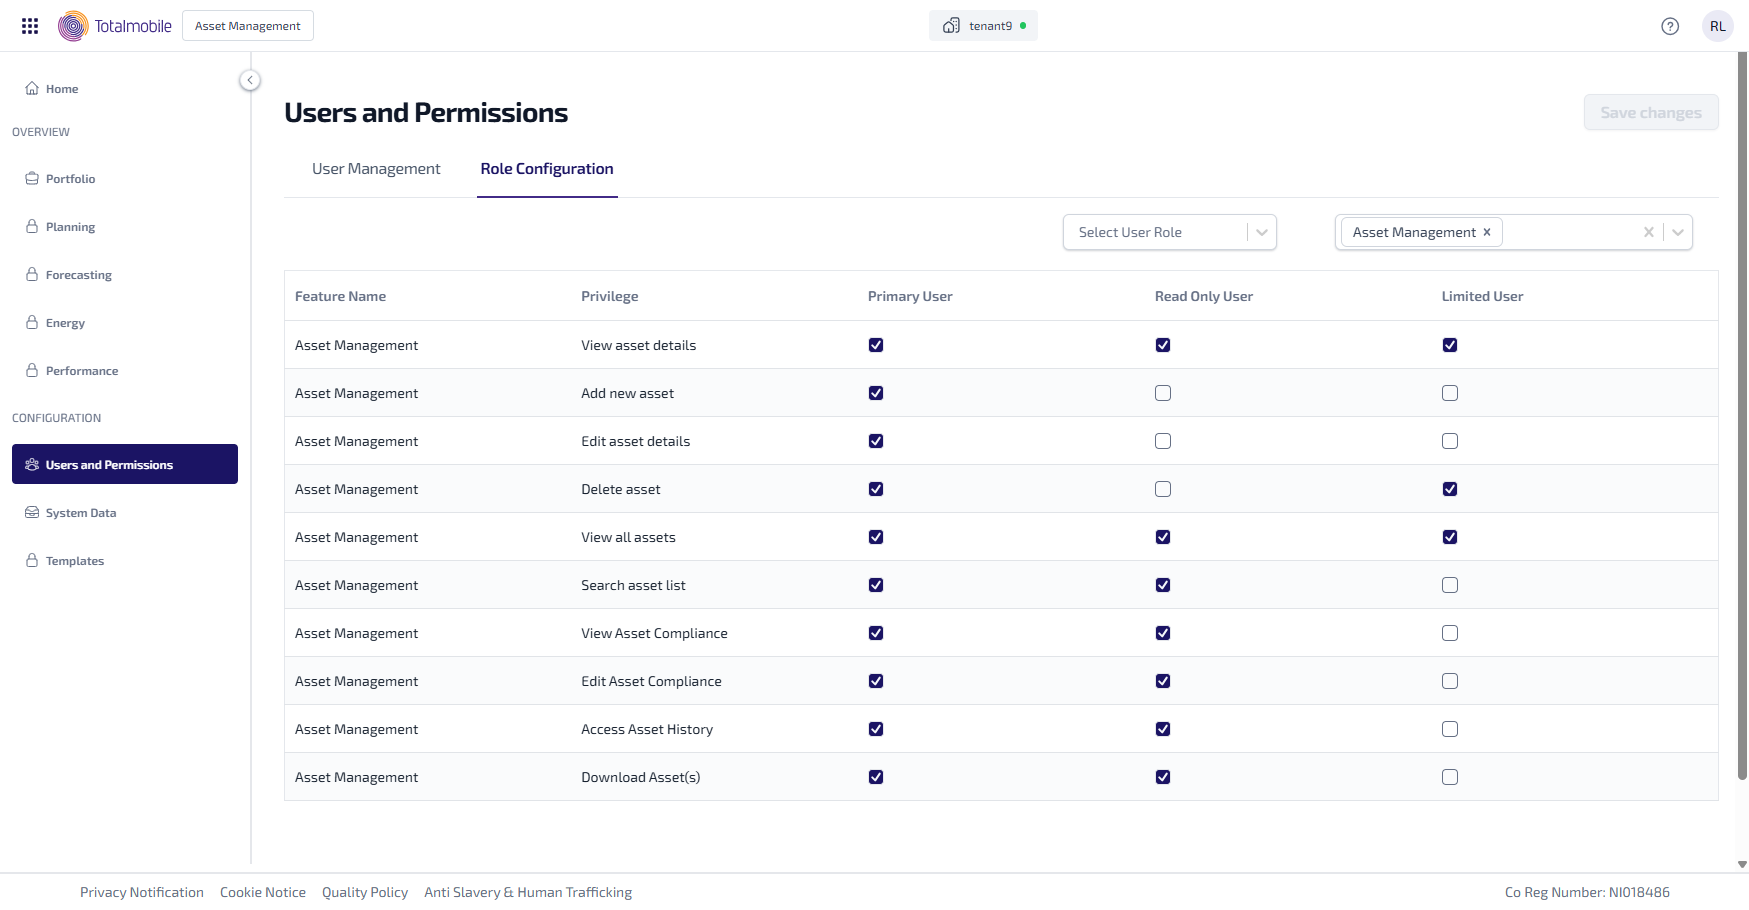
Select Feature Name
The Role Configuration tab can be filtered to show only the Privileges related to a feature.
To filter by feature name:
-
In the Navigation menu, in the Configuration section, select Users and Permissions.
-
Select the Role Configuration tab.
-
Select the Select Feature Name dropdown, then select the required feature from the list.
-
The table in the Role Configuration tab updates to show only those Privileges related to the selected feature.
-
If required, follow step 3 again to add additional features.