System Data - Property Types
The System Data > Property Types tab lets you define and manage standard classifications of properties used in Asset Management.
These property types can be assigned to assets which have been marked as a property.
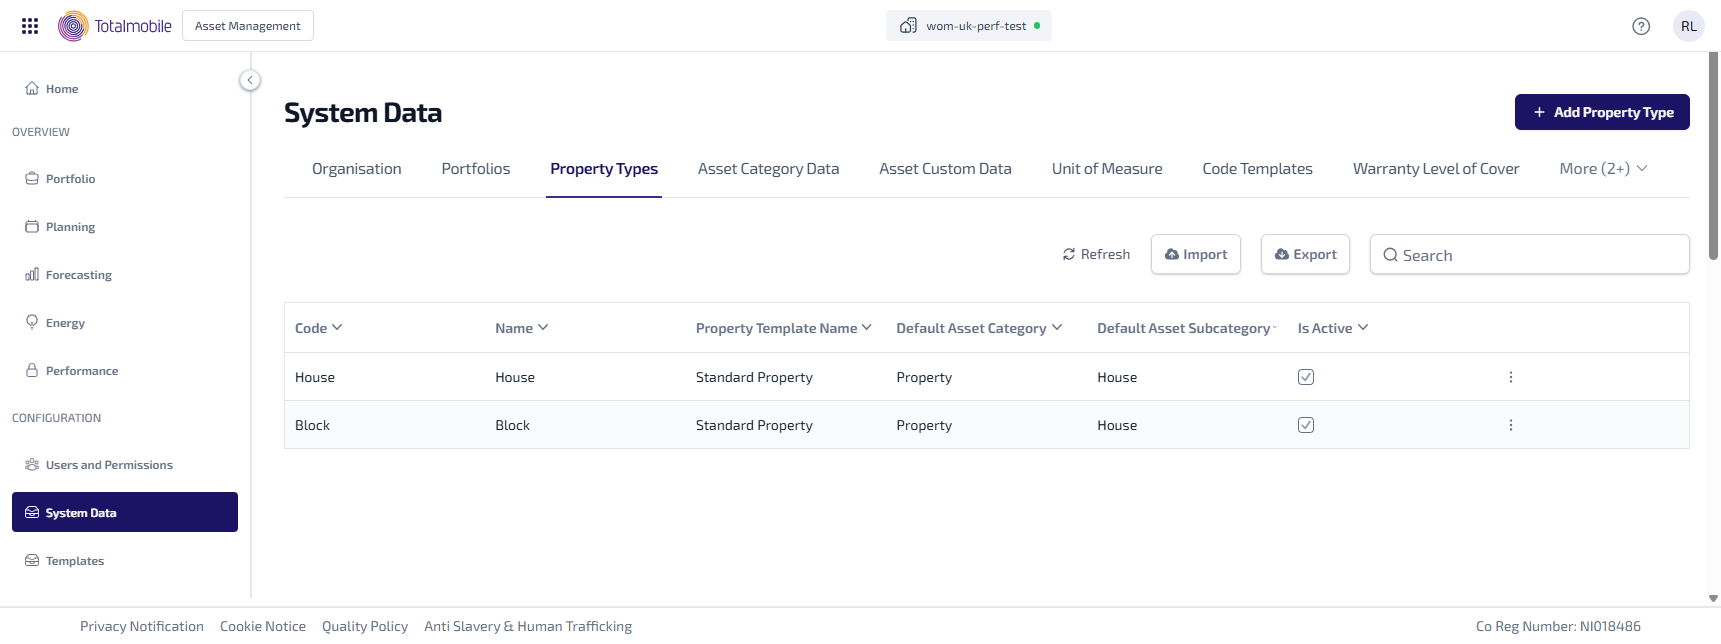
The following information is shown:
-
Code – the unique code for the property type.
-
Name – the name of the property type.
-
Property Template - the name of the Property Template linked to the property type.
-
Is Active – indicating whether the property type is currently available to be assigned to assets marked as a property.
-
 - this shows the property type is available to be assigned to an asset marked as a property.
 -
 - this shows the property type is not available, and hidden from assets marked as a property.
-
-
 - select for the following options:
-
Edit - select to edit the property type.
-
Delete- select to delete the property type.
Property types can only be deleted if they are not linked to an asset marked as a property. If the property type is in use, delete will be disabled.
-
You can also do the following in Property Types:
-
Add Property Type - add a new property type.
-
Edit Property Type- edit an existing property type.
-
Refresh - select to refresh the information shown on the page.
-
Import- select to import multiple property types from a .csv file.
-
Export- select to export the property types as a .csv file.
-
Search - enter a full, or partial, Code or Name into the Search field and press Enter on the keyboard to display all matching results in Property Types.
The Search field is a ‘begins with’ search, therefore ensure the criteria entered is always the beginning of what you are searching for.
Add Property Type
To add a new property type:
-
In the Navigation menu, in the Configuration section, select System Data.
-
Select the Property Types tab.
-
Select Add Property Type.
-
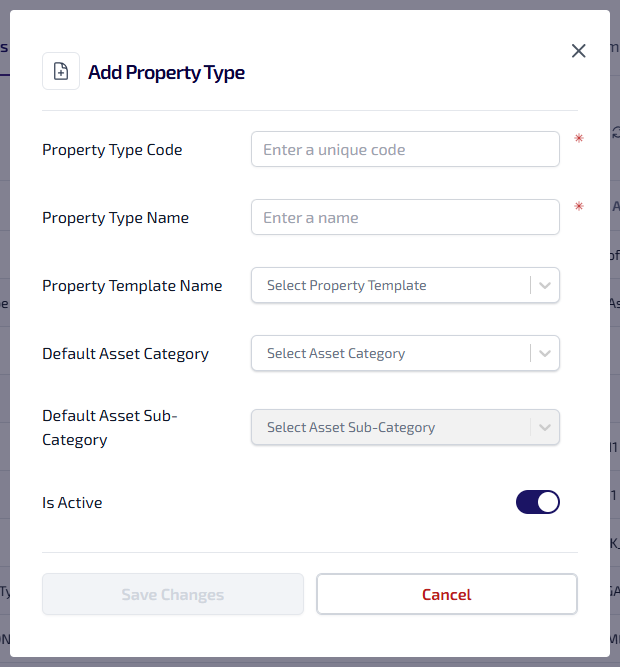
The Add Property Type dialog appears.
-
Enter the following information:
-
Property Type Code* - the code entered must be unique, can be alphanumeric, contain symbols and have a maximum 64 character limit.
-
Property Type Name*
-
Property Template Name - select the relevant property template name from the dropdown.
-
Default Asset Category - select the relevant default asset category from the dropdown.
-
Default Asset Sub-Category - select the relevant default asset sub-category from the dropdown.
-
Select the toggle to indicate whether the property type Is Active.
*These are required fields.
-
-
Select Save Changes.
Edit Property Type
To edit a property type:
-
In the Navigation menu, in the Configuration section, select System Data.
-
Select the Property Types tab, for the property type you want to edit, select More options
 .
. -
From More options select Edit.
-
The Edit Property Type dialog appears.
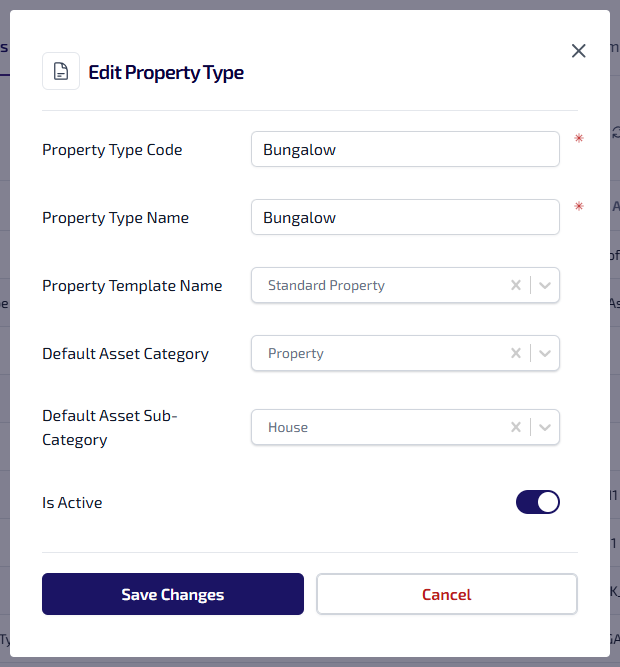
Update the following details as required:
- Property Type Code
- Property Type Name
-
Property Template Name
-
Default Asset Category
-
Default Asset Sub-Category
-
Is Active - indicates whether the property is available for assets marked as a property.
-
Select Save Changes.
Import
The Import lets you add multiple product types by importing them as a .csv file.
The .csv file must contain the following columns:
|
Column Name |
Description |
Validation Rules |
|---|---|---|
|
Code |
The unique code for the property type. |
Mandatory. This must be unique among all active property types. |
|
Name |
The name of the property type. |
Mandatory. This field cannot be empty. |
|
PropertyTemplateCode |
The code of the property template assigned to the property type. |
Optional. This must match an existing active property template in Asset Management. The code can be found in Navigation menu > Configuration section > Templates. |
|
IsActive |
Indicates whether the property type is available for assets marked as a property. |
Optional. Accepted values are True or False. This defaults to False if not provided. |
To import a property types file:
-
In the Navigation menu, in the Configuration section, select System Data.
-
Select the Property Types tab.
-
Select Import.
-
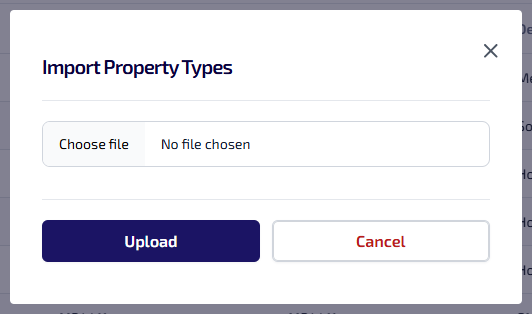
The Import Property Types dialog appears.
-
Select Choose file, browse and select the required file to import, select Open.
-
Select Upload.
If any property types in the .csv file fail the validation check, due to a missing name or duplicate code etc., they will be skipped, and all valid property types will be imported successfully.
Export
The Export lets you export the property types as a .csv file. The following options are available:
-
All Property Types - exports all property types.
-
Only Active Property Types - exports all the property types on the current page with Is Active selected.
-
Your Exports - shows all your in progress and completed exports.
To export a property types file:
-
In the Navigation menu, in the Configuration section, select System Data.
-
Select the Property Types tab.
-
Select Export, and select either All Property Types or Only Active Property Types from the context menu.
-
The export is started and progresses in the background. Select Export, and select Your Exports from the context menu.
-
The Your Exports dialog appears.
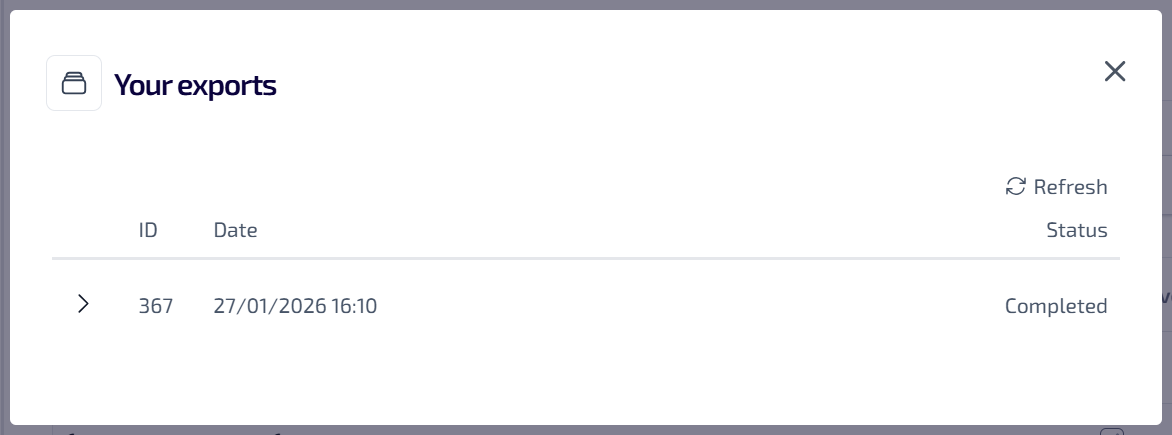
This lists all of your exports which are in progress or completed. The following information is shown:
-
ID - the system generated identification number.
-
Date - the date and time the export started.
-
Status - the status of the export, which could be one of the following:
- In Progress
- Completed
-
-
Once the export is complete expand
 the section to view the URL.
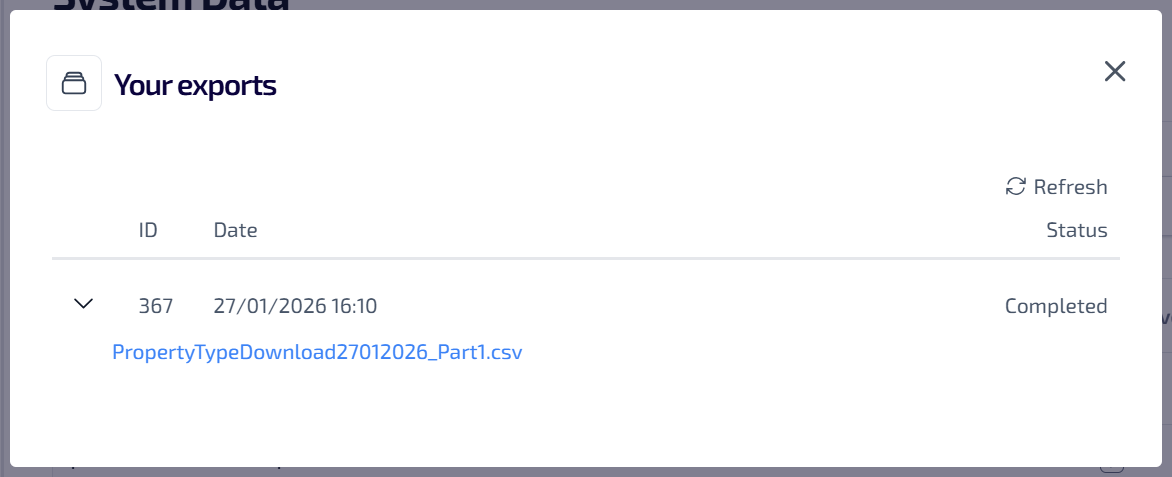
-
Select the URL to download the export to your browser download folder.
Once the export is downloaded to your browsers download folder, it is removed from the Your Exports dialog.
Please note the following:
-
You can only view your own exports.
-
If the file is not downloaded within 7 days it will be deleted automatically.
-
Each file contains up to 10,000 rows.
-
If your export contains more than 10,000 rows it will be split into multiple files.