Create a Form using Job Management (Connect) Lists
-
In WebAdmin select Forms.
-
Select Add New Form.
The New Form page appears.
-
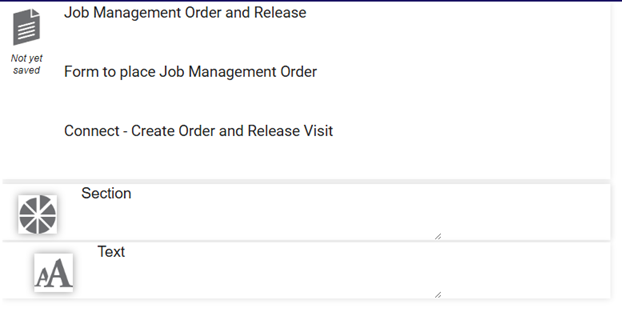
Enter a Form Name* and a Form Description*.
* Required field.
-
Select the External Reference field, and enter Connect - Create Order and Release Visit.
-
Add the predefined customer list as follows:
-
Select Insert a new Element
 .
-
Select Maintain element settings
 .
-
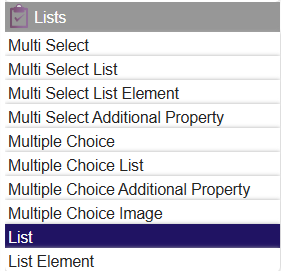
In the Update Element Details dialog, select the List control.
-
Select the Reference field, and enter CustomerExternalId.
-
Select the Text field, and enter a list description, for example Customer.
-
Select the Source Ref field, and start typing the name of the synchronised customer list. Select the list from the dropdown.
-
Click Save.
-
Add the predefined code template list as follows:
Select Insert a new Element
.Select Maintain element settings
.In the Update Element Details dialog, select the List control.
Select the Reference field, and enter CodeTemplateName.
Select the Text field, and enter a list description, for example Code Template.
Select the Source Ref field, and start typing the name of the synchronised code template list. Select the list from the dropdown.
Click Save.
Optionally, add a resource field as follows:
Select Insert a new Element
.Select Maintain element settings
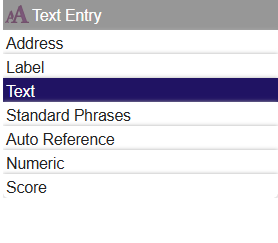
.In the Update Element Details dialog, select the Text control.
Select the Reference field, and enter ResourceExternalId.
Select the Text field, and enter a field description, for example Resource.
Click Save.
On the New Form page, Save
 and Publish
 the form.