Create and Edit Appointment Slot Templates
When you create an appointment slot template, you can define appointment slots for days and times that suit different teams and contracts. For ease of management, you can also copy and paste slots across days. For more details refer to Copy and Paste Appointment Slots.
If you separate all your appointment slots into multiple appointment slot templates rather than defining them all in the default template, the Appointment Booker takes less time to load the capacity because the capacity calculations are smaller and less complex.
Create an Appointment Slot Template
-
In WebAdmin select Optimise Admin.
The Universal Settings and Worlds page appears.
-
In the Universal Settings section, select Appointment Slot Templates.

The Templates page appears.
-
Select Add New Appointment Slot Template
 .
.The Appointment Slots page appears.
-
Select the Name field and enter a template name.
-
Manage appointment slots as follows:
-
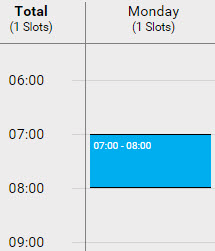
To create an appointment slot, click within an hour period on a day.
-
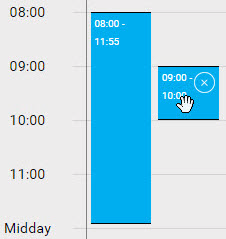
To add an appointment slot that runs alongside an existing appointment slot within the same day, position your cursor to the right of an appointment slot (within the column of the same day) until your cursor changes to include a plus icon, then click. Overlapping appointment slots appear within the column for the same day.
-
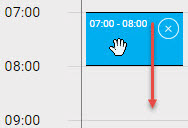
To move an appointment slot, position your cursor over the slot until the cursor icon changes to a hand, then drag it to its new location.
-
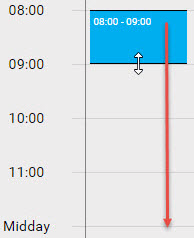
To extend or shorten the appointment slot length, position your cursor over the top or bottom border of the slot until the cursor icon changes to a vertical arrow, then drag to extend the slot.
-
-
Repeat the previous step to add more appointment slots.
-
Select Save
 .
.
Copy and Paste Appointment Slots
-
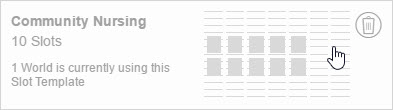
On the Templates page, select an existing Appointment Slot Template.
-
Select Edit

-
To enter Copy Mode, select the Copy Slots
 icon.
icon. -
Position your cursor over the day you wish to copy from, and click.
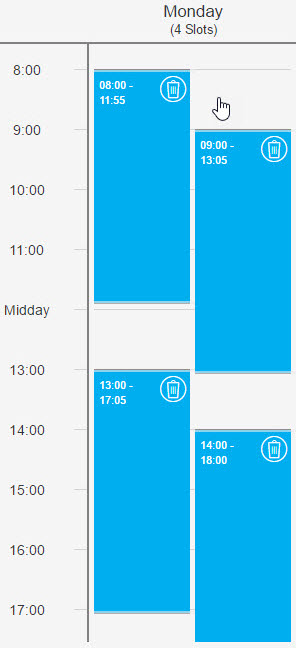
The copied day displays in green.
-
Select the days where you want to paste the appointment slots.
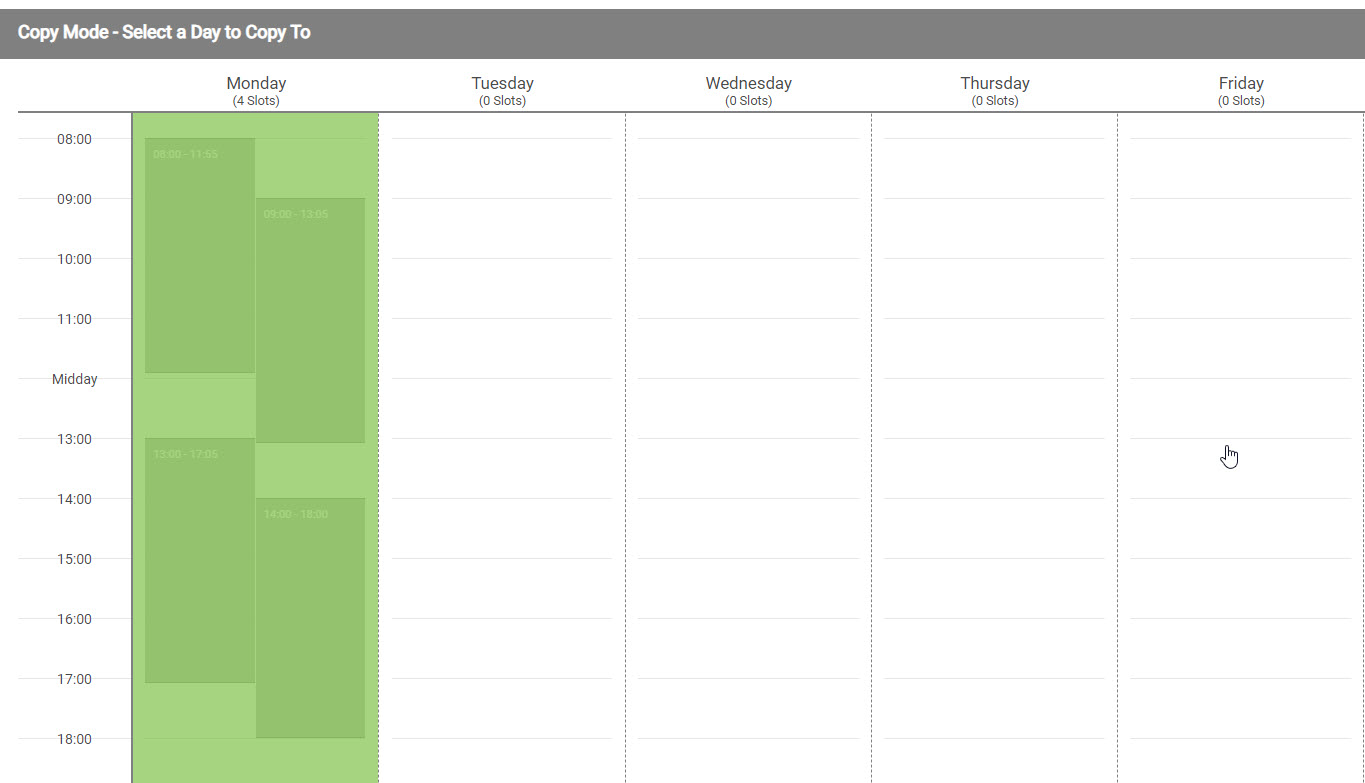
The pasted days display in dark grey.
-
To paste to all other days, select Select All
 .
. -
To deselect the pasted days, select Clear Selected
 .
. -
To complete the copy and paste of days, select Confirm Copy
 .
.
The days update with the appointment slots:
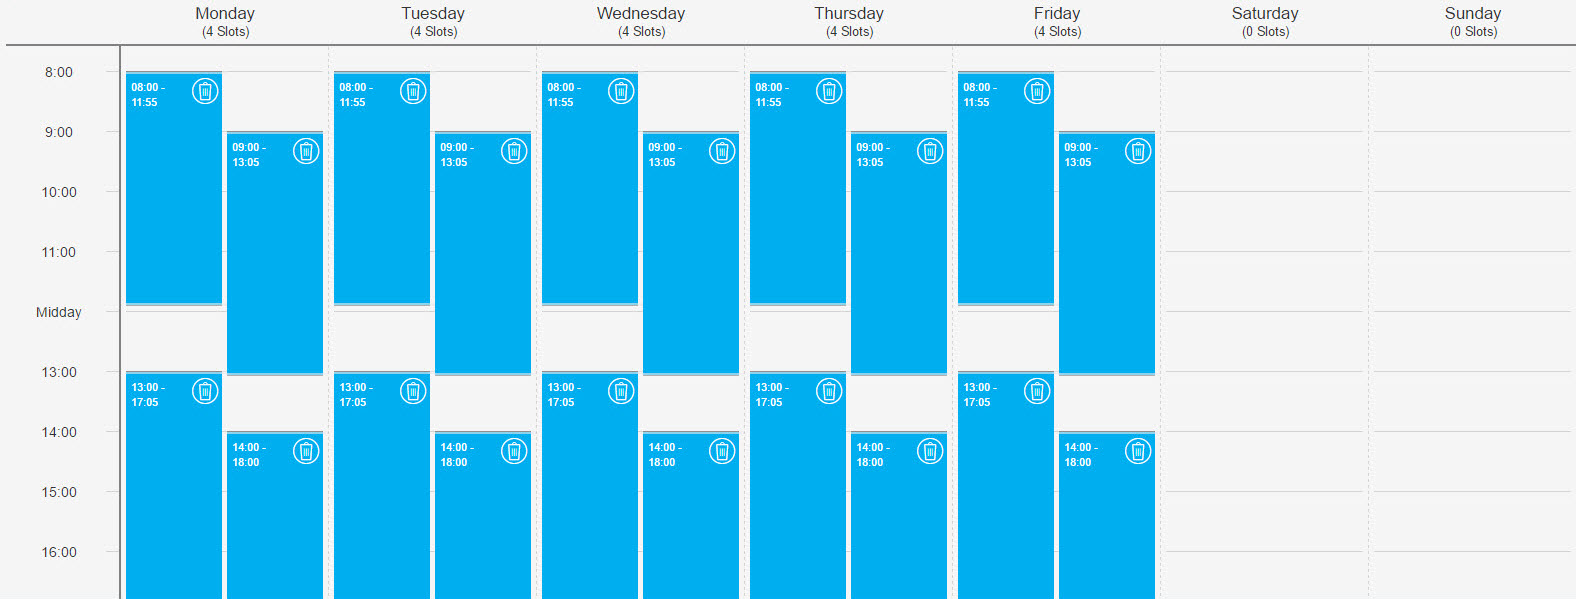
To cancel Copy Mode altogether, select Cancel Copy
 .
. -
-
Select Save
.