Record Unavailability
Record unavailability to ensure administrators or Mendel cannot schedule work to a resource at a time they are unable to do it.
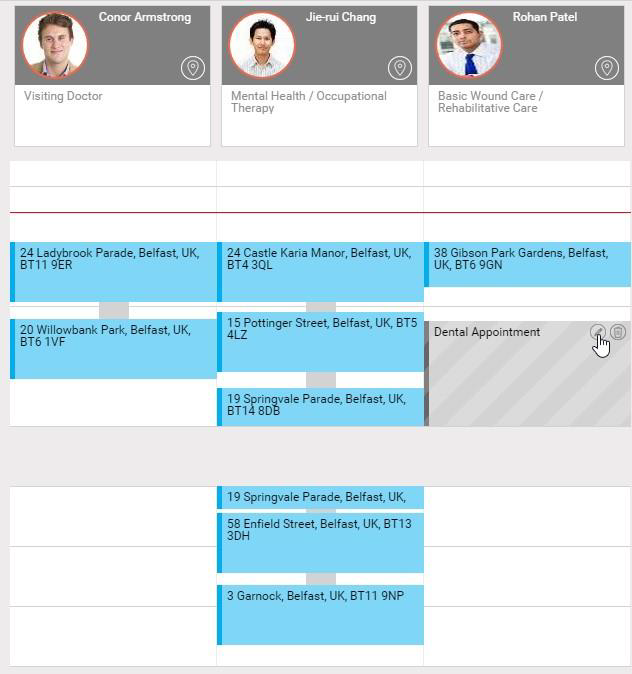
For example, two resources have a Friday afternoon off for dental appointments. The resources inform the administrator, who records the period of unavailability against the dental appointment unavailability reason code. The Diary updates with the period of unavailability, and work cannot be scheduled to the resources during that period.
You can also update the reason, description and start and end dates and times for unavailability in Optimise Schedule. For example, a user calls an Optimise Schedule administrator and advises they will be unavailable for longer than initially planned. The administrator updates the unavailability with the appropriate information. Both the diary in Optimise Schedule and the diary in the Totalmobile app are updated.
Add Unavailability
-
In WebAdmin, select Optimise Schedule.
The Worlds page appears.
-
Select a World.

The Optimise Schedule page appears.
-
Select Record Unavailability
 .
. The Record Unavailability dialog appears.
-
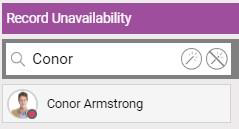
Select one or more resources from the list.
Use the Search field to filter the list of resources.
-
To select all resources, select Select All
 .
. -
To clear the currently-selected resources, select Deselect All
 .
. The selected resources are highlighted in green.
-
-
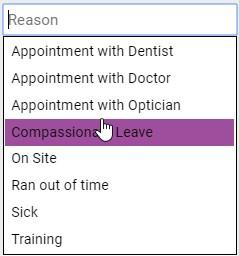
Select the Reason field, then select an Unavailability Reason from the dropdown.
-
Select the Description field and enter a description as required.
-
Select the Start Date field, and select a start date from the calendar.
-
Select the Start Time field, and select a start time from the dropdown options.
-
Select the End Date field, and select an end date from the calendar.
-
Select the End Time field, and select an end time from the dropdown options.
-
Select Clear Overlapping Jobs to force the removal of any jobs which overlap any busy time, including any dispatched jobs.
-
Select Save Unavailability
 .
.
All dispatched jobs will be recalled from the resource. This can cause data loss if visits have started.
Update Unavailability
-
On the Optimise Schedule page, hover your cursor over an Unavailability period, then select the Edit icon.
-
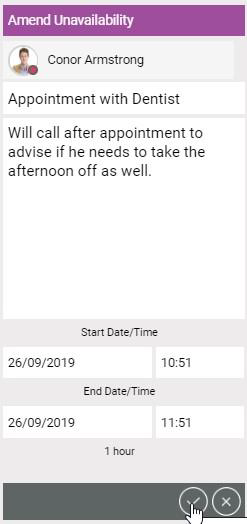
In the Update Unavailability dialog:
-
Select the Reason field, delete the current reason, and select a new reason from the dropdown if required.
-
Enter or amend text in the Description field as required.
-
Select to amend the Start Date, Start Time, End Date, and End Time as required.
-
Select Save Unavailability.
The Diary updates:
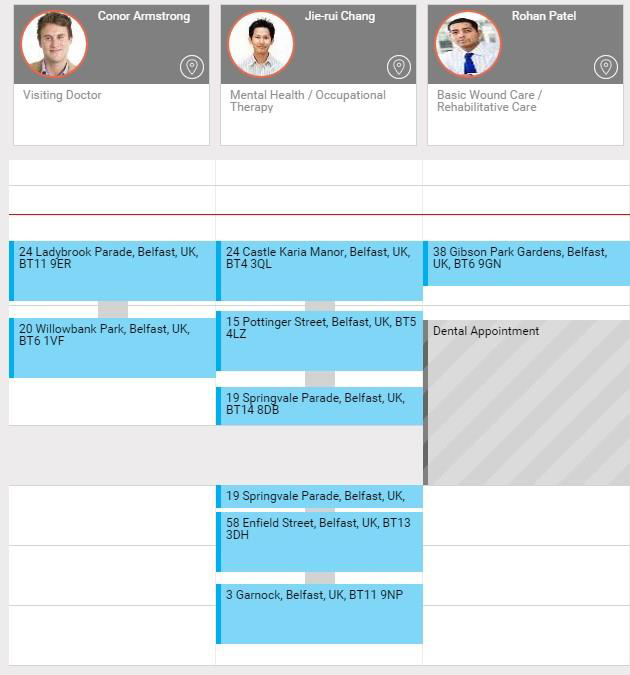
The Diary on the device also updates with the unavailability.
Delete Unavailability
-
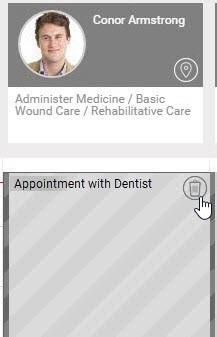
On the Optimise Schedule page, hover your cursor over an Unavailability period, then select the Delete icon.
-
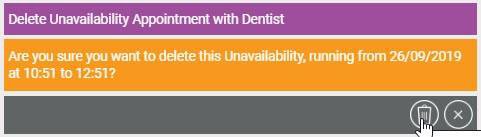
In the Please Confirm dialog, select Delete.
-