System Data - Warranty Level of Cover
The System Data > Warranty Level of Cover tab lets you add and manage the cover plan options available when added or editing a warranty with a type of Cover Plan, for more information about managing asset warranties refer to Warranties.
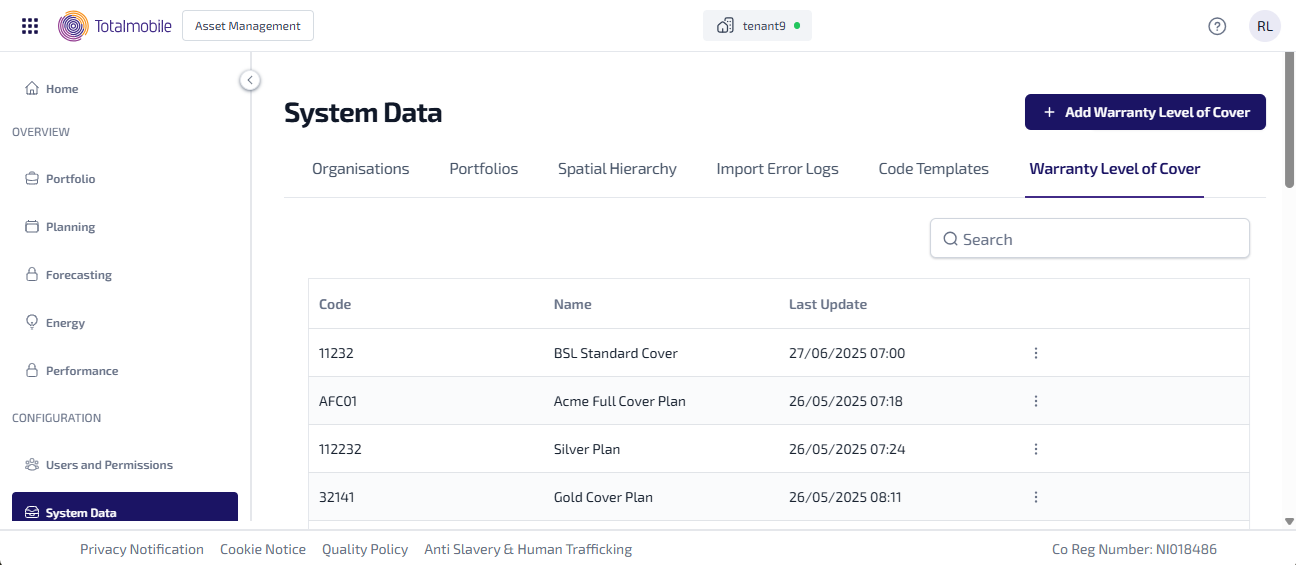
The following information is shown:
-
Code - the unique code for the level of cover.
-
Name - the name for the level of cover.
-
Last Updated - the date and time the level of cover was last updated.
-
 More options - select for the following options:
-
Edit - select to edit the level of cover details.
-
You can also do the following in Warranty Level of Cover:
-
Add Warranty Level of Cover - add a new level of cover.
-
Edit Warranty Level of Cover - edit an existing level of cover.
-
Search - enter the full, or partial, Code or Name into the Search field and press Enter on the keyboard to display all matching results in Warranty Level of Cover.
The Search field is a ‘begins with’ search, therefore ensure the criteria entered is always the beginning of what you are searching for.
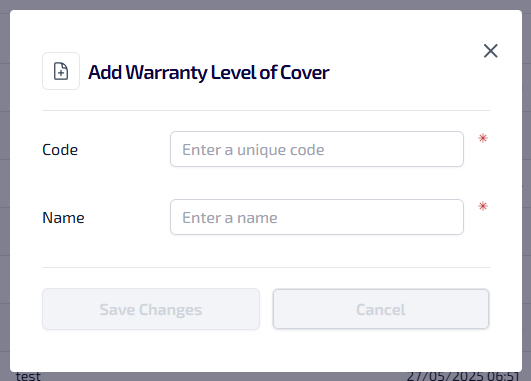
Add Warranty Level of Cover
To add a new level of cover:
-
In the Navigation menu, in the Configuration section, select System Data.
-
Select the Warranty Level of Cover tab.
-
Select Add Warranty Level of Cover.
-
The Add Warranty Level of Cover dialog appears.
-
Enter the following information:
-
Enter the Code*. The code entered must be unique, can be alphanumeric, contain symbols and have a maximum 64 character limit.
-
Enter the Name*.
-
*These are required fields.
-
Select Save Changes.
Edit Warranty Level of Cover
To edit an existing level of cover:
-
In the Navigation menu, in the Configuration section, select System Data.
-
Select the Warranty Level of Cover tab, for the level of cover you want to edit, select More options
. -
From More options select Edit.
-
The Edit Warranty Level of Cover dialog appears.

-
Update the following details as required:
-
Code
-
Name
-
-
Select Save Changes.