Follow Up Appointment Settings
The Follow Up Appointment Settings determine what the user sees in Mobilise when booking a follow up appointment on the device.
To configure the Follow Up Appointment Settings:
-
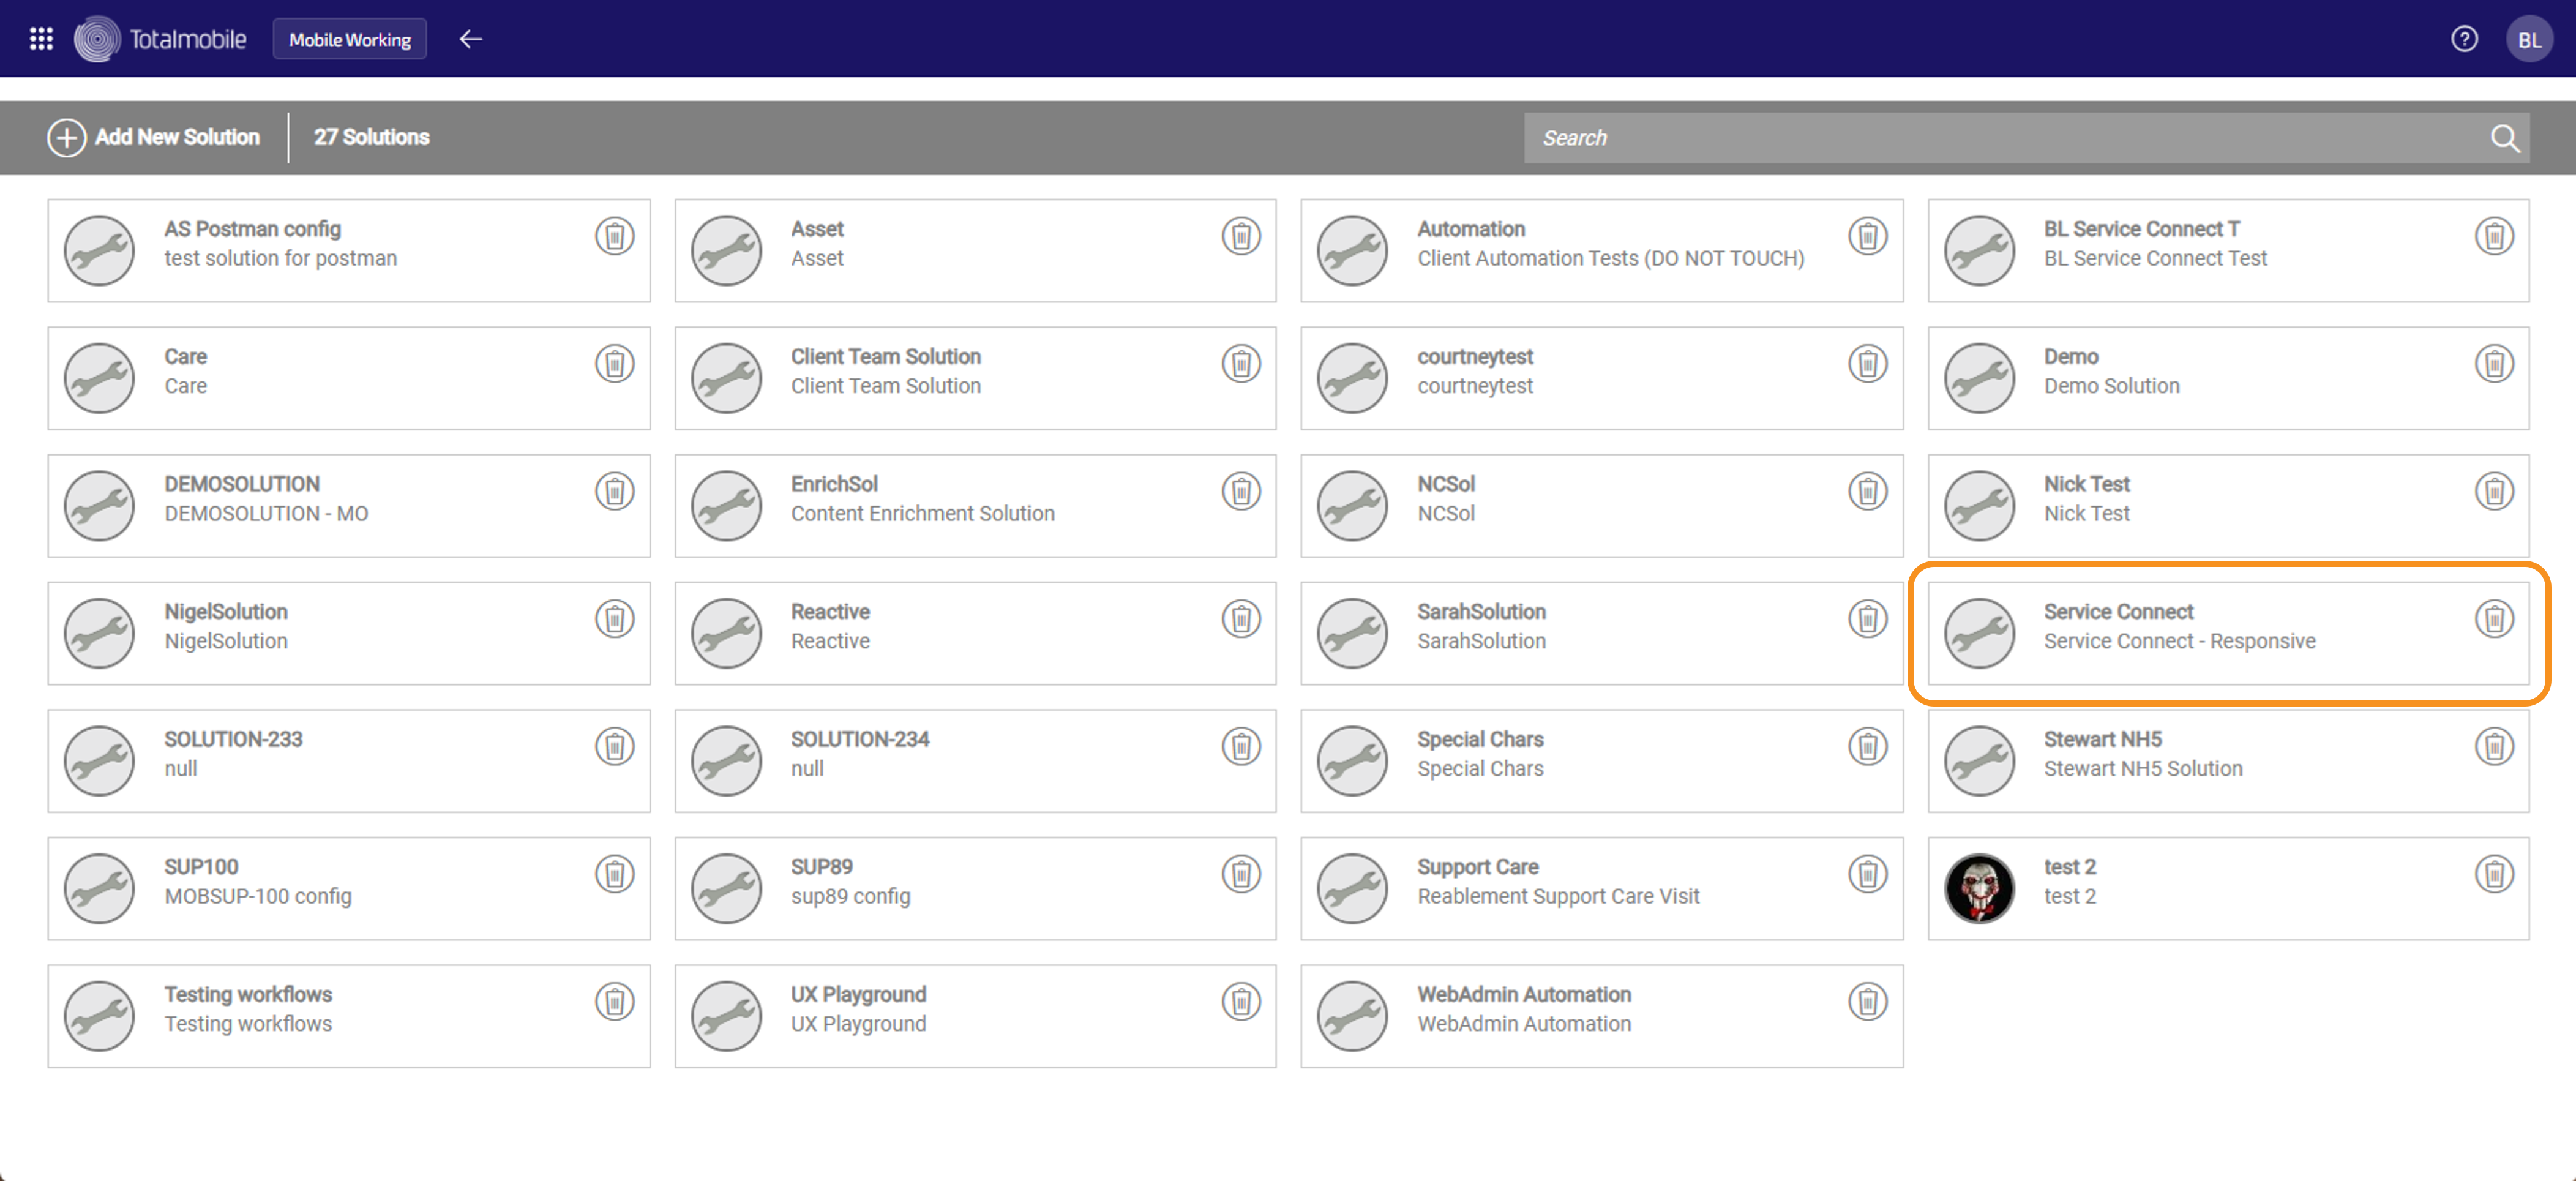
On the Home page select Solutions.

-
On the Solutions page select the relevant solution, which should be the solution set up to integrate with Connect.
-
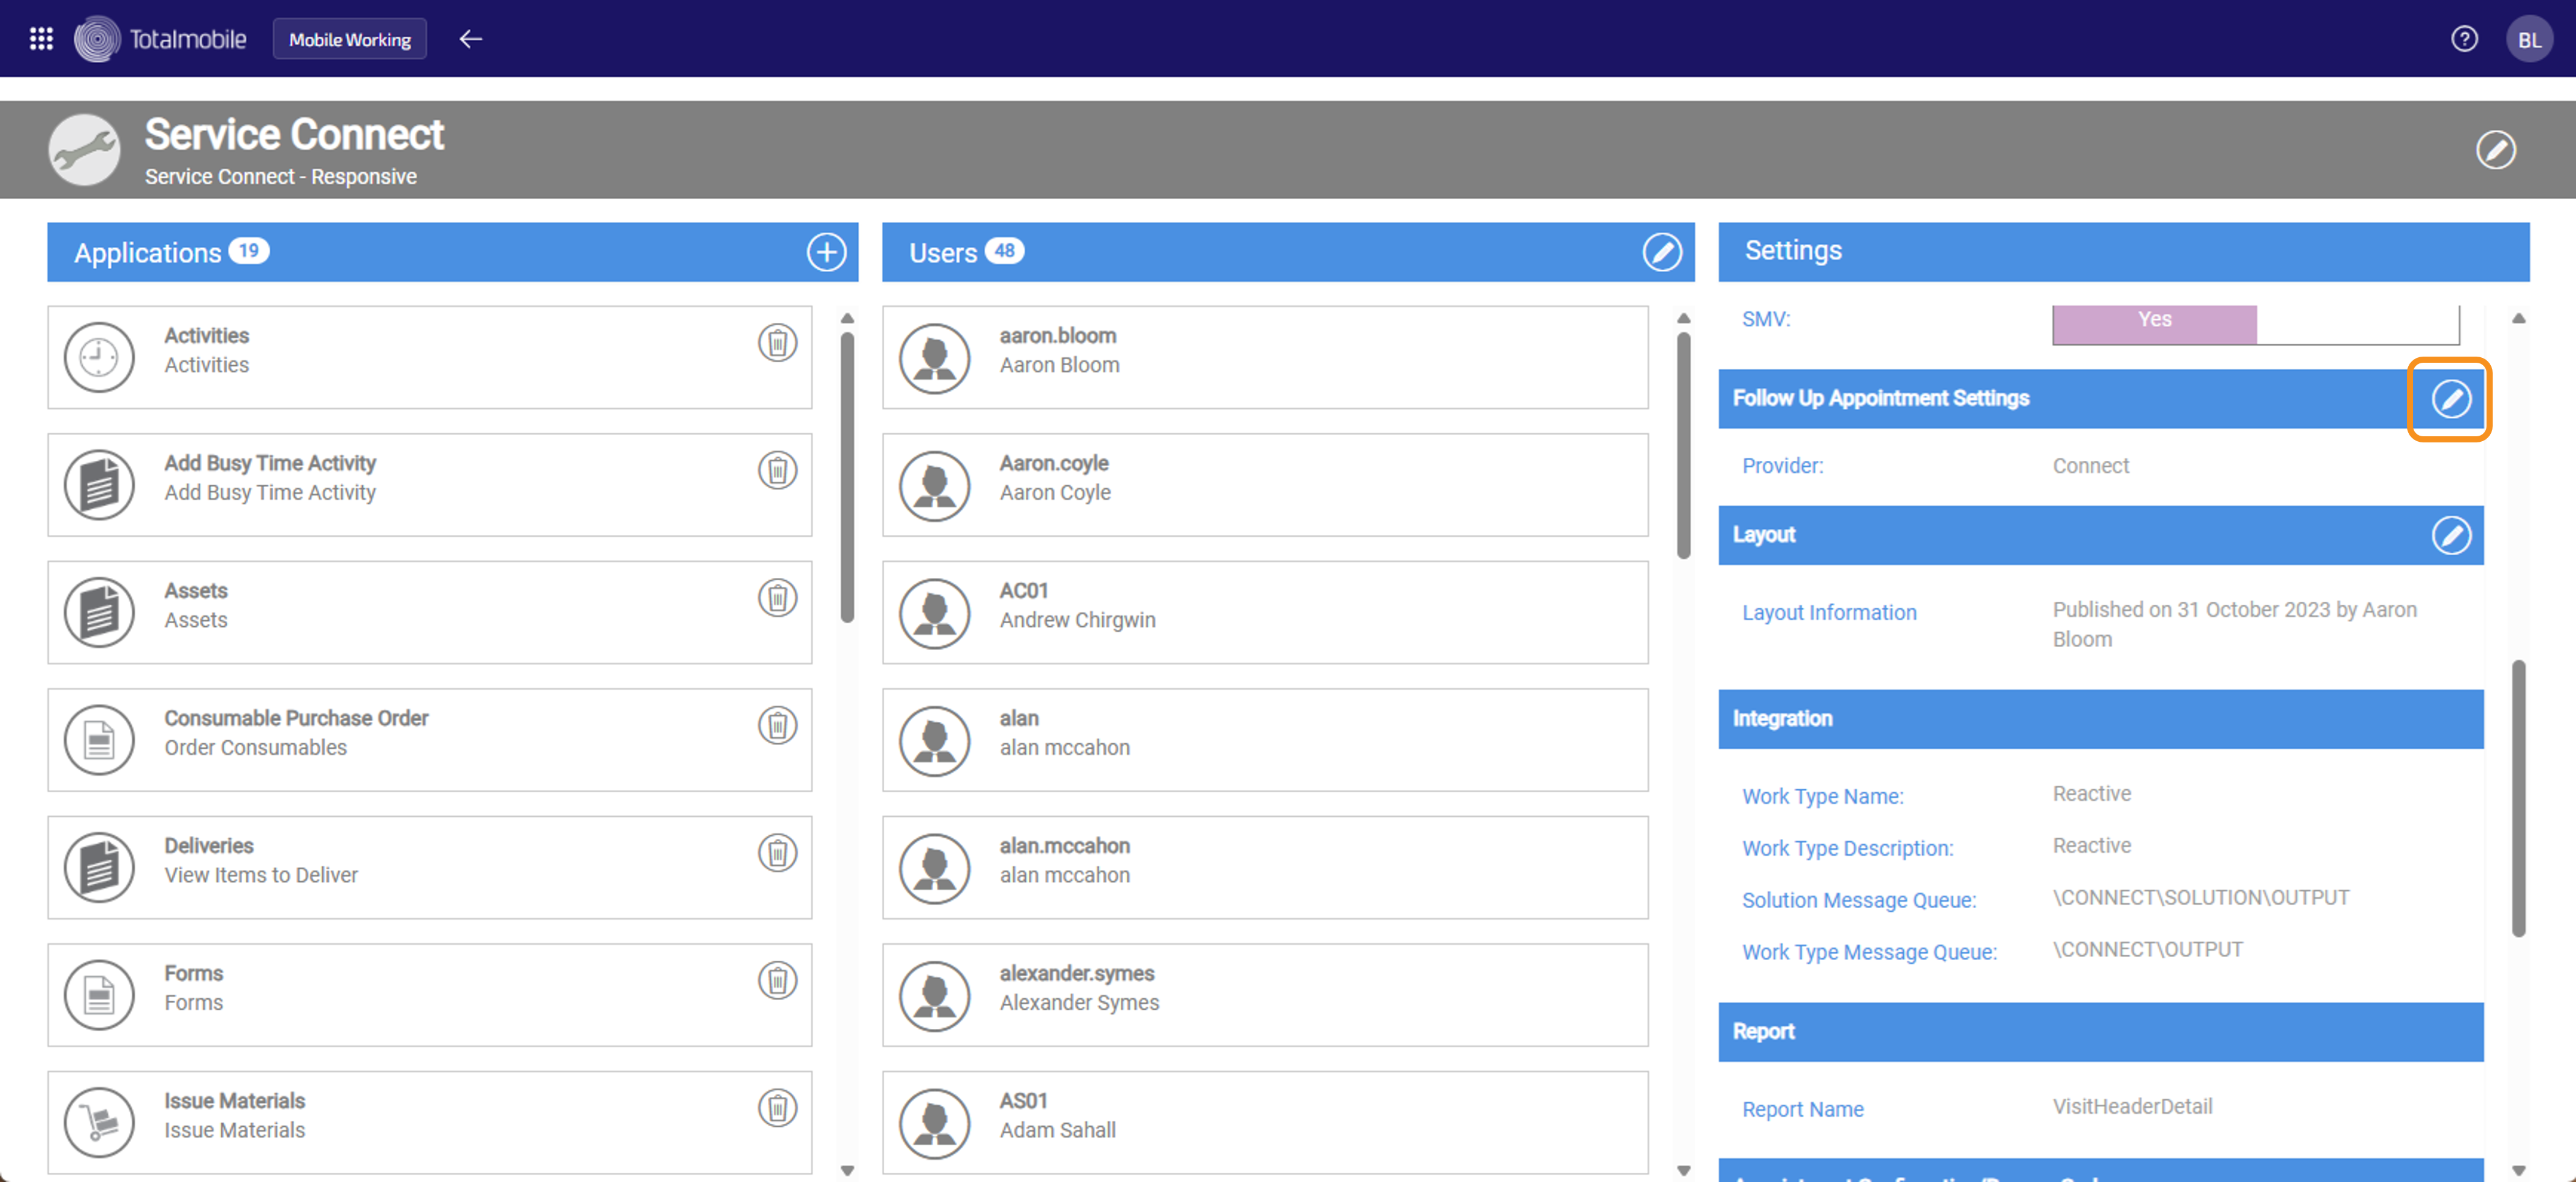
With the Service Connect Solution open, scroll through the Settings section until you reach Follow Up Appointment Settings, then select

-
The Follow Up Appointment Settings dialog appears.
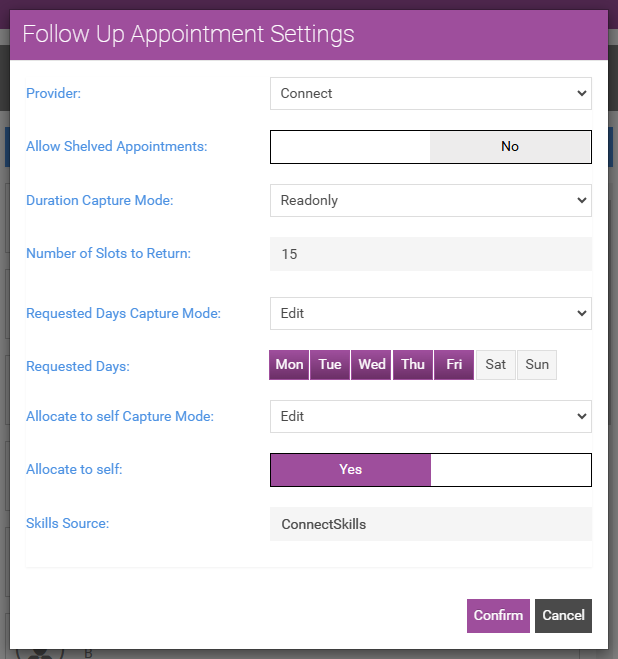
Update the following options:
-
Provider - this is the system used to send the appointments. Select the Provider from the dropdown list.
-
Allow Shelved Appointments - lets the user request a follow up appointment when there are no matching appointments to return. When set to Yes, it sends a request to the backend for someone else to arrange the follow up appointment. Select the field to toggle between Yes to turn it on, and No to turn it off.
-
Duration Capture Mode - select one of the following from the dropdown list:
-
Read only - only shows the user follow up appointments for a predefined duration.
-
Edit - lets the user specify the duration required for the follow up appointment, for example between 30 minutes and 4 hours.
-
Hidden - does not display the duration and returns all available follow up appointments.
-
-
Number of Slots to Return - enter the number of follow up appointment slots which can be returned to the user. This can be no greater than 15.
-
Requested Days Capture Mode - select one of the following from the dropdown list:
-
Read only - only shows the user follow up appointments for the days selected in Requested Days below.
-
Edit - lets the user specify the days required for the follow up appointment.
-
Hidden - does not display the days and returns all available follow up appointments.
-
-
Requested Days - select the days which the user will receive follow up appointments for. Click a day to select or deselect it.
-
Allocate to Self Capture Mode - select one of the following from the dropdown list:
-
Read only - only shows the user follow up appointments for predefined skills.
-
Edit - lets the user specify the skill required for the follow up appointment, for example carpenter or plumber.
-
Hidden - does not display the skills and returns all available follow up appointments.
-
-
Allocate to Self - this determines whether the follow up appointment is allocated to the user by default or not. When Yes is selected, the follow up appointment is allocated to the user by default. Select the field to toggle between Yes to turn it on, and No to turn it off.
-
Skills Source - this is the predefined skills, or trades, list which is available to the user. Start typing the name of the list into the field and select it from the options shown. For more information refer to Follow Up Appointment Skills or Trade List.
-
-
Select Confirm.