Assign Roster
You can only assign rosters to resources in one World, which means resources cannot exist or be scheduled jobs in multiple Worlds.
Rosters define the availability and days off for the resources assigned to them. For more details of creating and editing rosters, refer to Rosters.
You need the Assign Roster permission to access this feature. For more details refer to Permissions.
To assign a roster to a resource in a World:
-
In WebAdmin select Optimise Admin.
-
Select a World.

The World Settings and Permissions page appears.
-
In the Settings section, select Assign Roster.
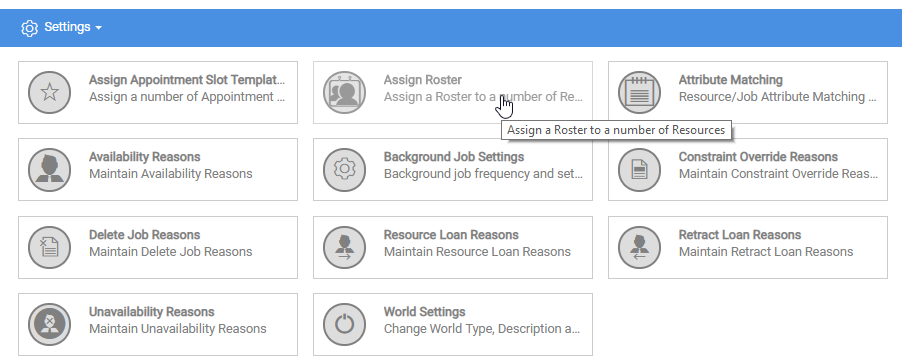
The Assign Roster dialog appears with the Rosters tab displayed.
-
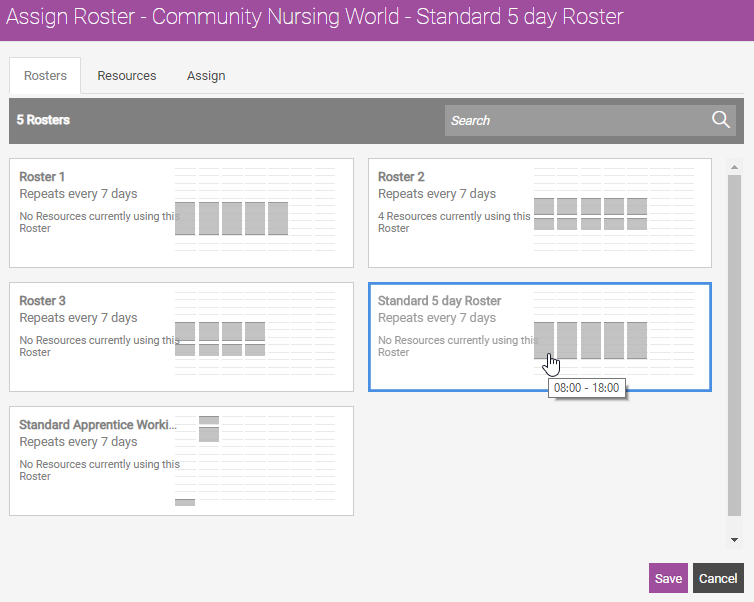
Select a Roster.
-
Select the Resources tab.
-
Select a Resource. To assign the roster to all resources, select Select All
 .
. Use the Search field to filter the list of resources.
-
Select the Assign tab.
-
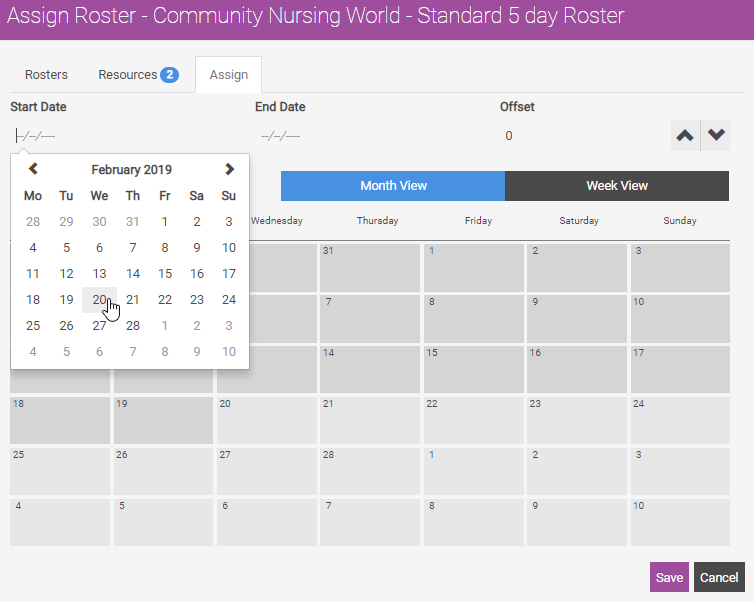
Select the Start Date field, and select a start date for the roster. You can also select a date from the main calendar.
-
Select the End Date field, and select an end date for the roster. You can also select a date from the main calendar. If you do not select an end date, the roster is continuous.
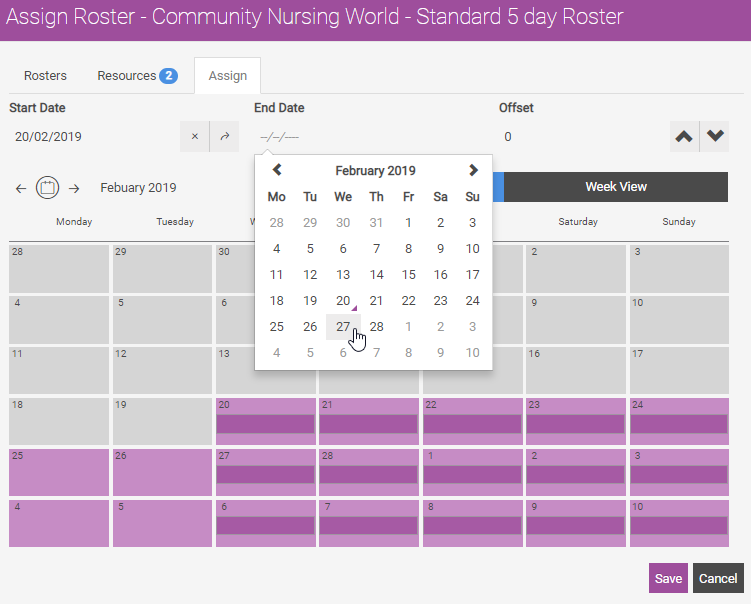
Do not enter an end date if you want a constant pattern. Furthermore, if you assign resources to more than one roster, the start dates and end dates determine which roster is used. Where there are two or more rosters and one has no end date, the order of the start dates determines which roster applies.
-
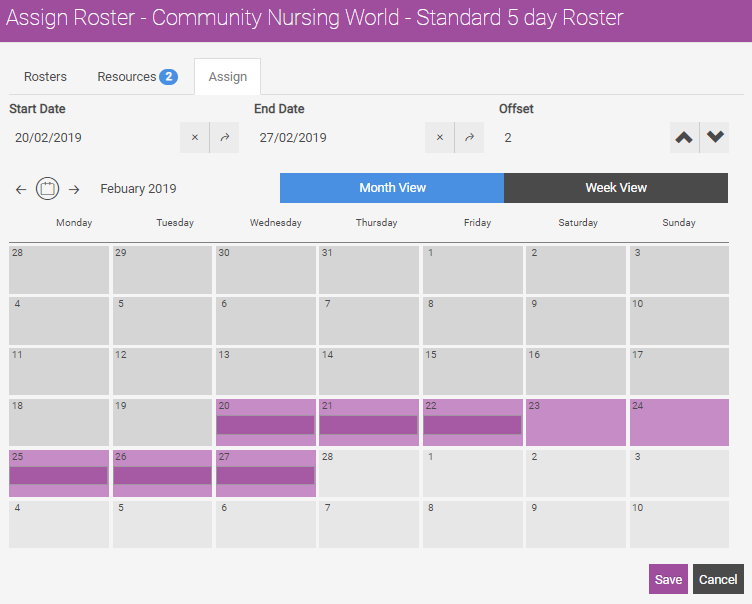
Select the Offset field, and enter a value in days.
The offset enables you to define which day of a roster applies to the roster start date. For example, you select a roster of Monday to Friday with weekends off, and the current day is Tuesday. You set the roster to start on the current day and the Offset to 2, which means the current day is the second day of the roster (the Tuesday of a Monday to Friday week). You can also select the arrows to increase and decrease the offset. A visual representation of the roster is displayed within the calendar.
-
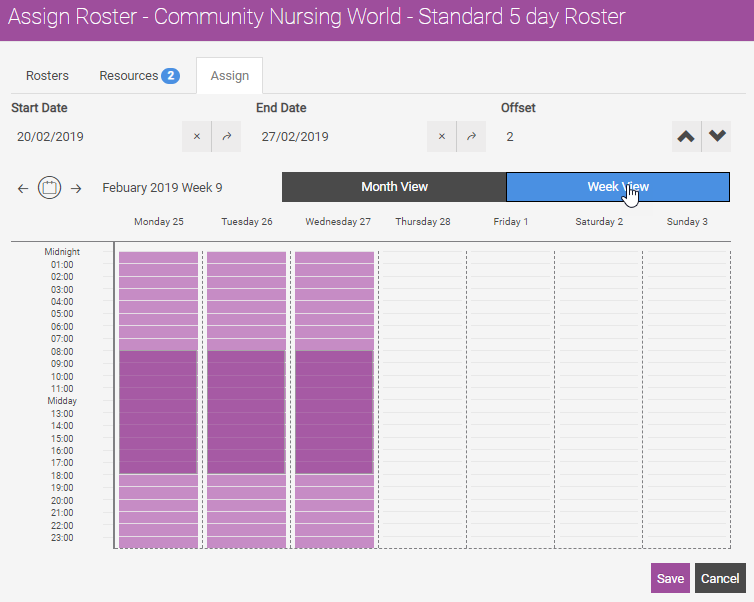
Select Week View to view the roster in relation to the calendar in a week format.
-
Select Save.
The Confirm window appears.
-
Select Save.