Configure Widget Options
Each widget has one or more tabs on which you can configure options. For example, widgets that can cover a specific time period include a History tab for past events or a Forecasting tab for future events. All widgets include an Appearance tab where you can define how the widget looks on the dashboard.
When you make changes to an existing dashboard, the changes are applied for all users with that dashboard.
To configure a widget:
-
In WebAdmin select Dashboard.
The Dashboard page appears.
If you have multiple dashboards configured, select the numbers at the top of the window
 to switch between dashboards.
 -
Select Edit Dashboard
 .
.The Dashboard appears in Edit Mode.
-
On the widget you want to edit, select Edit Widget Settings.
The Widget Options dialog appears with the Appearance tab open by default.
-
Edit the options on the widget tabs as required. The following options may be available:
-
 Appearance tab
-
Select the Text field and enter a title for the widget. If you leave this field blank, the title is the widget name.
-
Select the Colour field, and select a background colour from the dropdown.
-
If available, select the Refresh Time field, and enter the refresh frequency in minutes. For example, you might want the widget information to refresh every 15 minutes.
-
If available, select the Chart Type field and select an option from the dropdown.
-
If available, select the Widget Baseline field and enter a baseline that applies to the widget. For example, in the Total Capacity Utilisation widget you might want a baseline of 30 minutes. The baseline is displayed as part of the metrics.
-
-
Worlds tab
This tab enables you to filter widget information for a specific World.
-
Select the World field, then select an option from the dropdown.
-
-
Forecasting tab
This tab enables you to define the specific time frame the widget will forecast information for. The time frame is also displayed in the Widget label. Select one of the following options:
-
Fixed Day - displays a forecast of fixed day (up to 7 days from today). Select the required Day Offset from the dropdown.
-
Fixed Week - displays a forecast for a fixed week (up to 4 weeks ahead from a selected day of the week). Select the required Week Beginning day from the dropdown, then select the Week Offset amount from the dropdown.
-
All Time - displays forecasting information for all available time.
-
-
History tab
This tab enables you to define the time period for displaying historical information. Select one of the following options:
-
Today
-
Yesterday
-
Previous Week
-
-
Resource Attributes tab
This tab enables you to define one or more resource attributes to use in the widget.
-
Select the Attribute Name field and then select an attribute from the dropdown.
-
Select the Attribute Value field and then select a value from the dropdown.
-
Select Create New Attribute.
-
Repeat the above steps to add more attributes.
-
-
Resource Skills tab
This tab enables you to define one or more skills associated with a resource to use in the widget.
-
Select the Skill Name field and then select a skill from the dropdown.
-
Select Create New Skill.
-
Repeat the above steps to add more skills.
-
-
Work Item Attributes tab
This tab enables you to define one or more attributes associated with a work item, for example Area or Duration, to use in the widget.
-
Select the Attribute Name field and then select an attribute from the dropdown.
-
Select the Attribute Value field and then select a value from the dropdown.
-
Select Create New Attribute.
-
Repeat the above steps to add more attributes.
-
-
Work Item Filters tab
This tab enables you to define one or more filters associated with a work item, for example Status or Emergency, to use in the widget.
-
Select the Work Item Filter Name field and then select a filter option from the dropdown.
-
Select the Work Item Filter Value field and then select a value from the dropdown.
-
Select Create New Filter.
-
Repeat the above steps to add more filters.
-
-
Work Item Skills tab
This tab enables you to define one or more skills associated with a work item to use in the widget.
-
Select the Skill Name field and then select a skill from the dropdown.
-
Select Create New Skill.
-
Repeat the above steps to add more skills.
-
-
Groups tab
This tab enables you to define one or more groups associated with a job to use in the widget.
-
Select the Group field and then select a group from the dropdown.
-
Select Add group.
-
Repeat the above steps to add more groups.
-
-
Attribute Group tab
This tab enables you to define an attribute group associated with a job to use in the widget.
-
Select the Attribute Group field and then select a group from the dropdown. If only one group is available, it is automatically selected.
-
For more details of the specific tabs available for each widget, refer to Widget Definitions.
-
-
Select Save.
-
Select Exit Edit Mode
 .
.
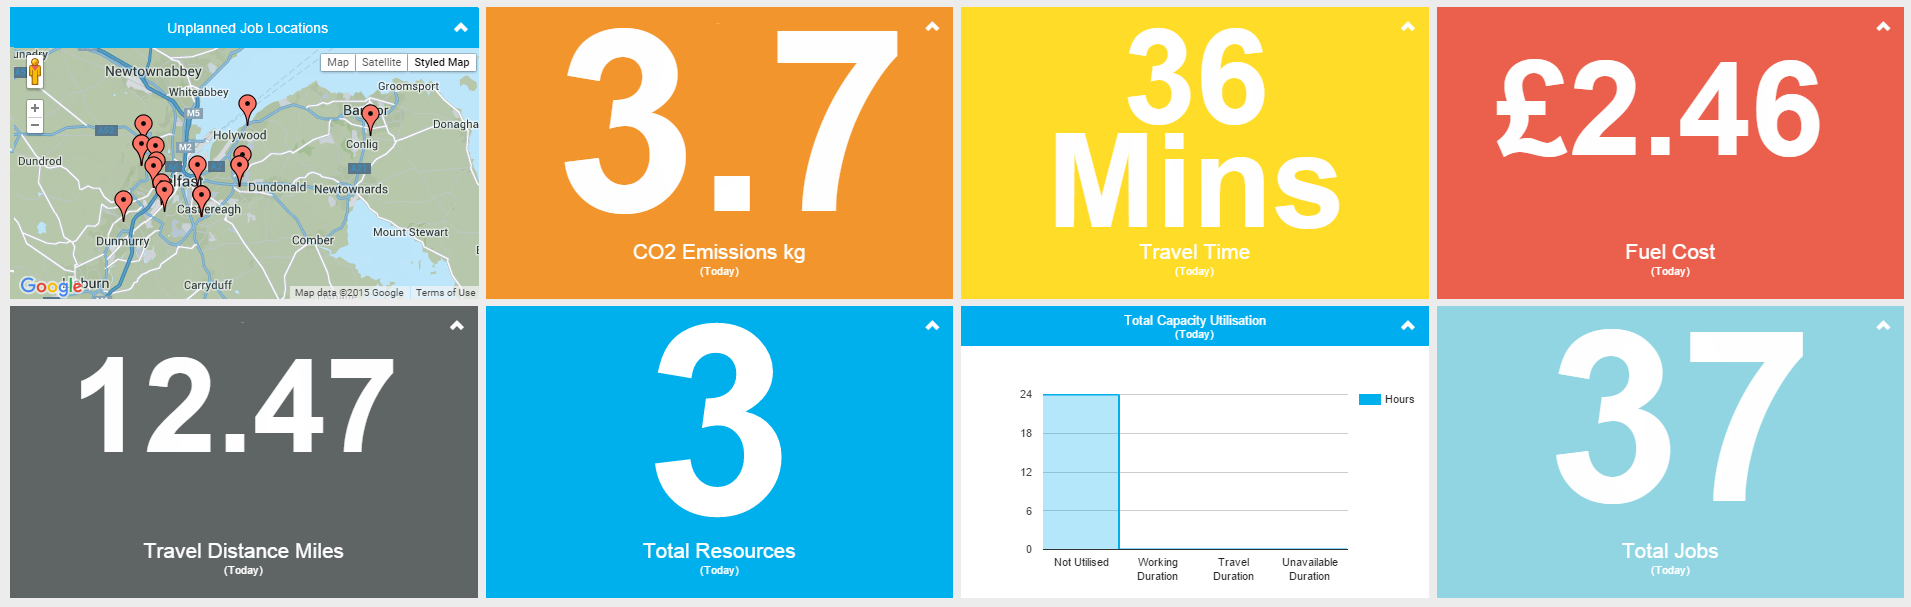
The Dashboard is displayed: